Photography tips to help your charity sell on eBay
With 187 million users, opening a ‘virtual’ charity shop on eBay is a great opportunity for you to raise more income for your cause. But with an average of 1.6 billion items listed on eBay at any one time, your listings need to stand out amongst the crowd and show your items at their very best. The photographs of your items are often the first thing that grabs a buyer's attention, so it’s important to get them right.
In shops, your customers have the opportunity to pick up your items, to feel the quality, check labels or branding and to examine the condition. This is particularly important for second-hand items and helps buyers make informed decisions about whether or not to part with their cash. Online, this obviously isn’t possible. However, with good photography you can replicate the in-store shopping experience and help your items fly off the virtual shelves.
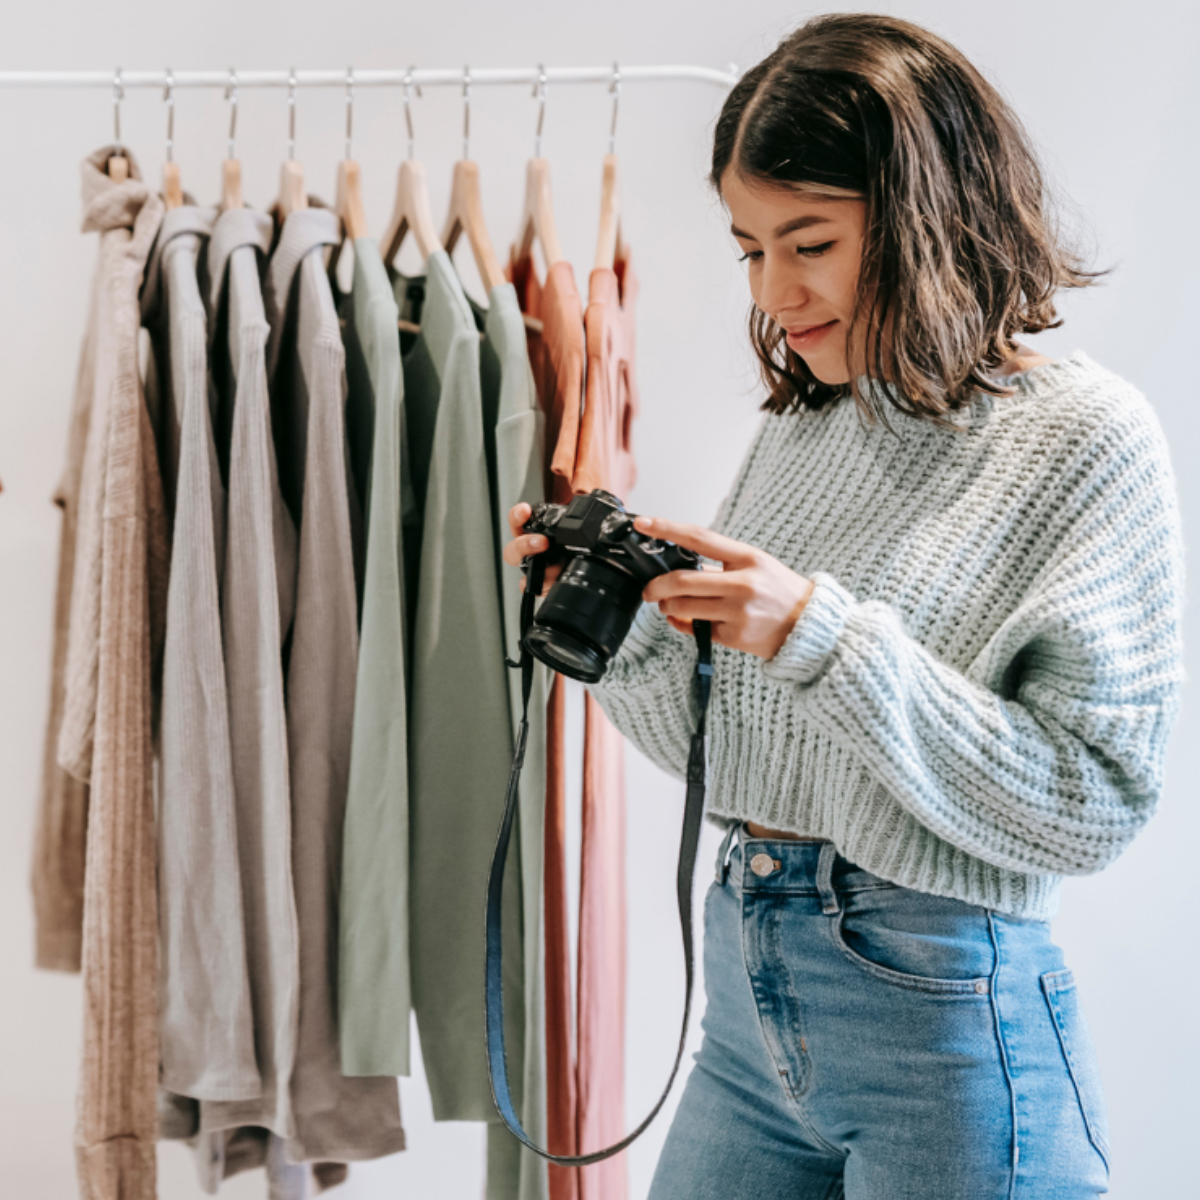
You don’t need to be a professional photographer or even have a professional camera. By following some simple rules, you can help make your online listings a success. Here are our top tricks and tips for taking photos to help your charity sell on eBay.
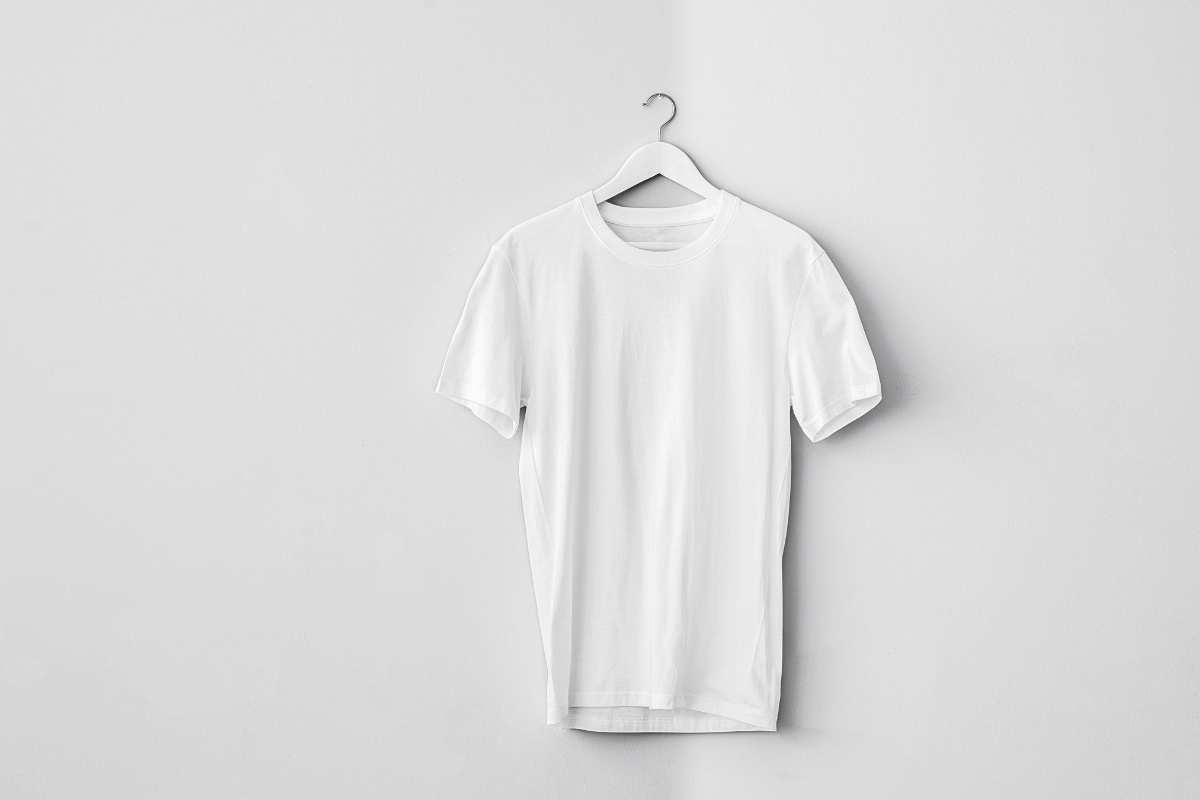
Use a white background for online sales photography
White backgrounds look professional and make it easy to cut the background out of most products using automated tools. Unless the product disappears into the background, always try to use a white background when taking your picture. Google Shopping results tend to only display items if they have a white background.
If you have some budget, you can buy a light box (a small white/reflective box in which to place products for photography) for between £30-100, depending on the size. But even if you don't, a large piece of white paper or card will do the job. If it’s big enough, you can use a piece of masking tape to stick it to the wall, curving it down to a horizontal surface such as a table or wall. This creates what professional photographers call an infinity curve, eliminating angles and shadows.
If you don’t have the space, time or budget to get a white background, aim at least for an uncluttered area so the item is clearly visible as the focal point of the image.
Lighting your item to sell online
Again, you can buy some basic photography lighting for around £50, but don’t worry about this if budget is an issue. In most cases, natural light will give you the truest representation of what you’re photographing, particularly if you’re selling clothes or furniture where the colour will be important to the buyer. If there’s enough light, turn the flash off on the camera. You’ll avoid unwanted flare, unnatural colours and darkened backgrounds.
Professional photographers use multiple lights to ‘fill’ darker areas of their subject. Assuming you don’t have this luxury, try angling or moving the product to a position where the existing light hits it best. Even the pros are no strangers to the advantage afforded by a blob of Blu Tack to position items in the best way for photography.
Set up and framing for online sales
Before taking any pictures, make sure the item is clean. Look out for finger marks on shiny or glass surfaces, and ensure clothes are free from fluff and pressed, steamed or ironed. Expect potential buyers to zoom into your photos.
Present items on their own on a plain background, and resist any temptation to ‘dress the set’ with accessories. If you are photographing a longer garment, such as a dress, you can use a hanger or mannequin. But don’t dress the rest of the mannequin as you risk confusing the buyer about what is included in the sale.
Flat lay – an image shot directly from above – is becoming a popular option and is often seen on Instagram. Laying carefully arranged items of clothing or objects onto a surface and taking a photo from a birds-eye view will give that professional edge and stand out to buyers. You’ll need to make sure the light comes from the side to avoid a camera-shaped shadow on the image.
The most important picture you take should show the item in its entirety. Try not to leave too much space around the item – it should fill most of the frame and sit in the centre as much as possible. This will be your main image.
On eBay, you can upload up to 12 images for free and you should use all of these if you can. For the remaining 11 images, you should concentrate on different angles, showing every side of your item, and make close-up shots of any details, peculiarities, blemishes or damage.
If the item is small, it’s a good idea to include something to show the buyer how big it is. Photographing items next to a coin is a good way to show scale, though it’s worth pointing out that the coin is not included in the sale in the description. You can also use a standard-size matchstick or a ruler.
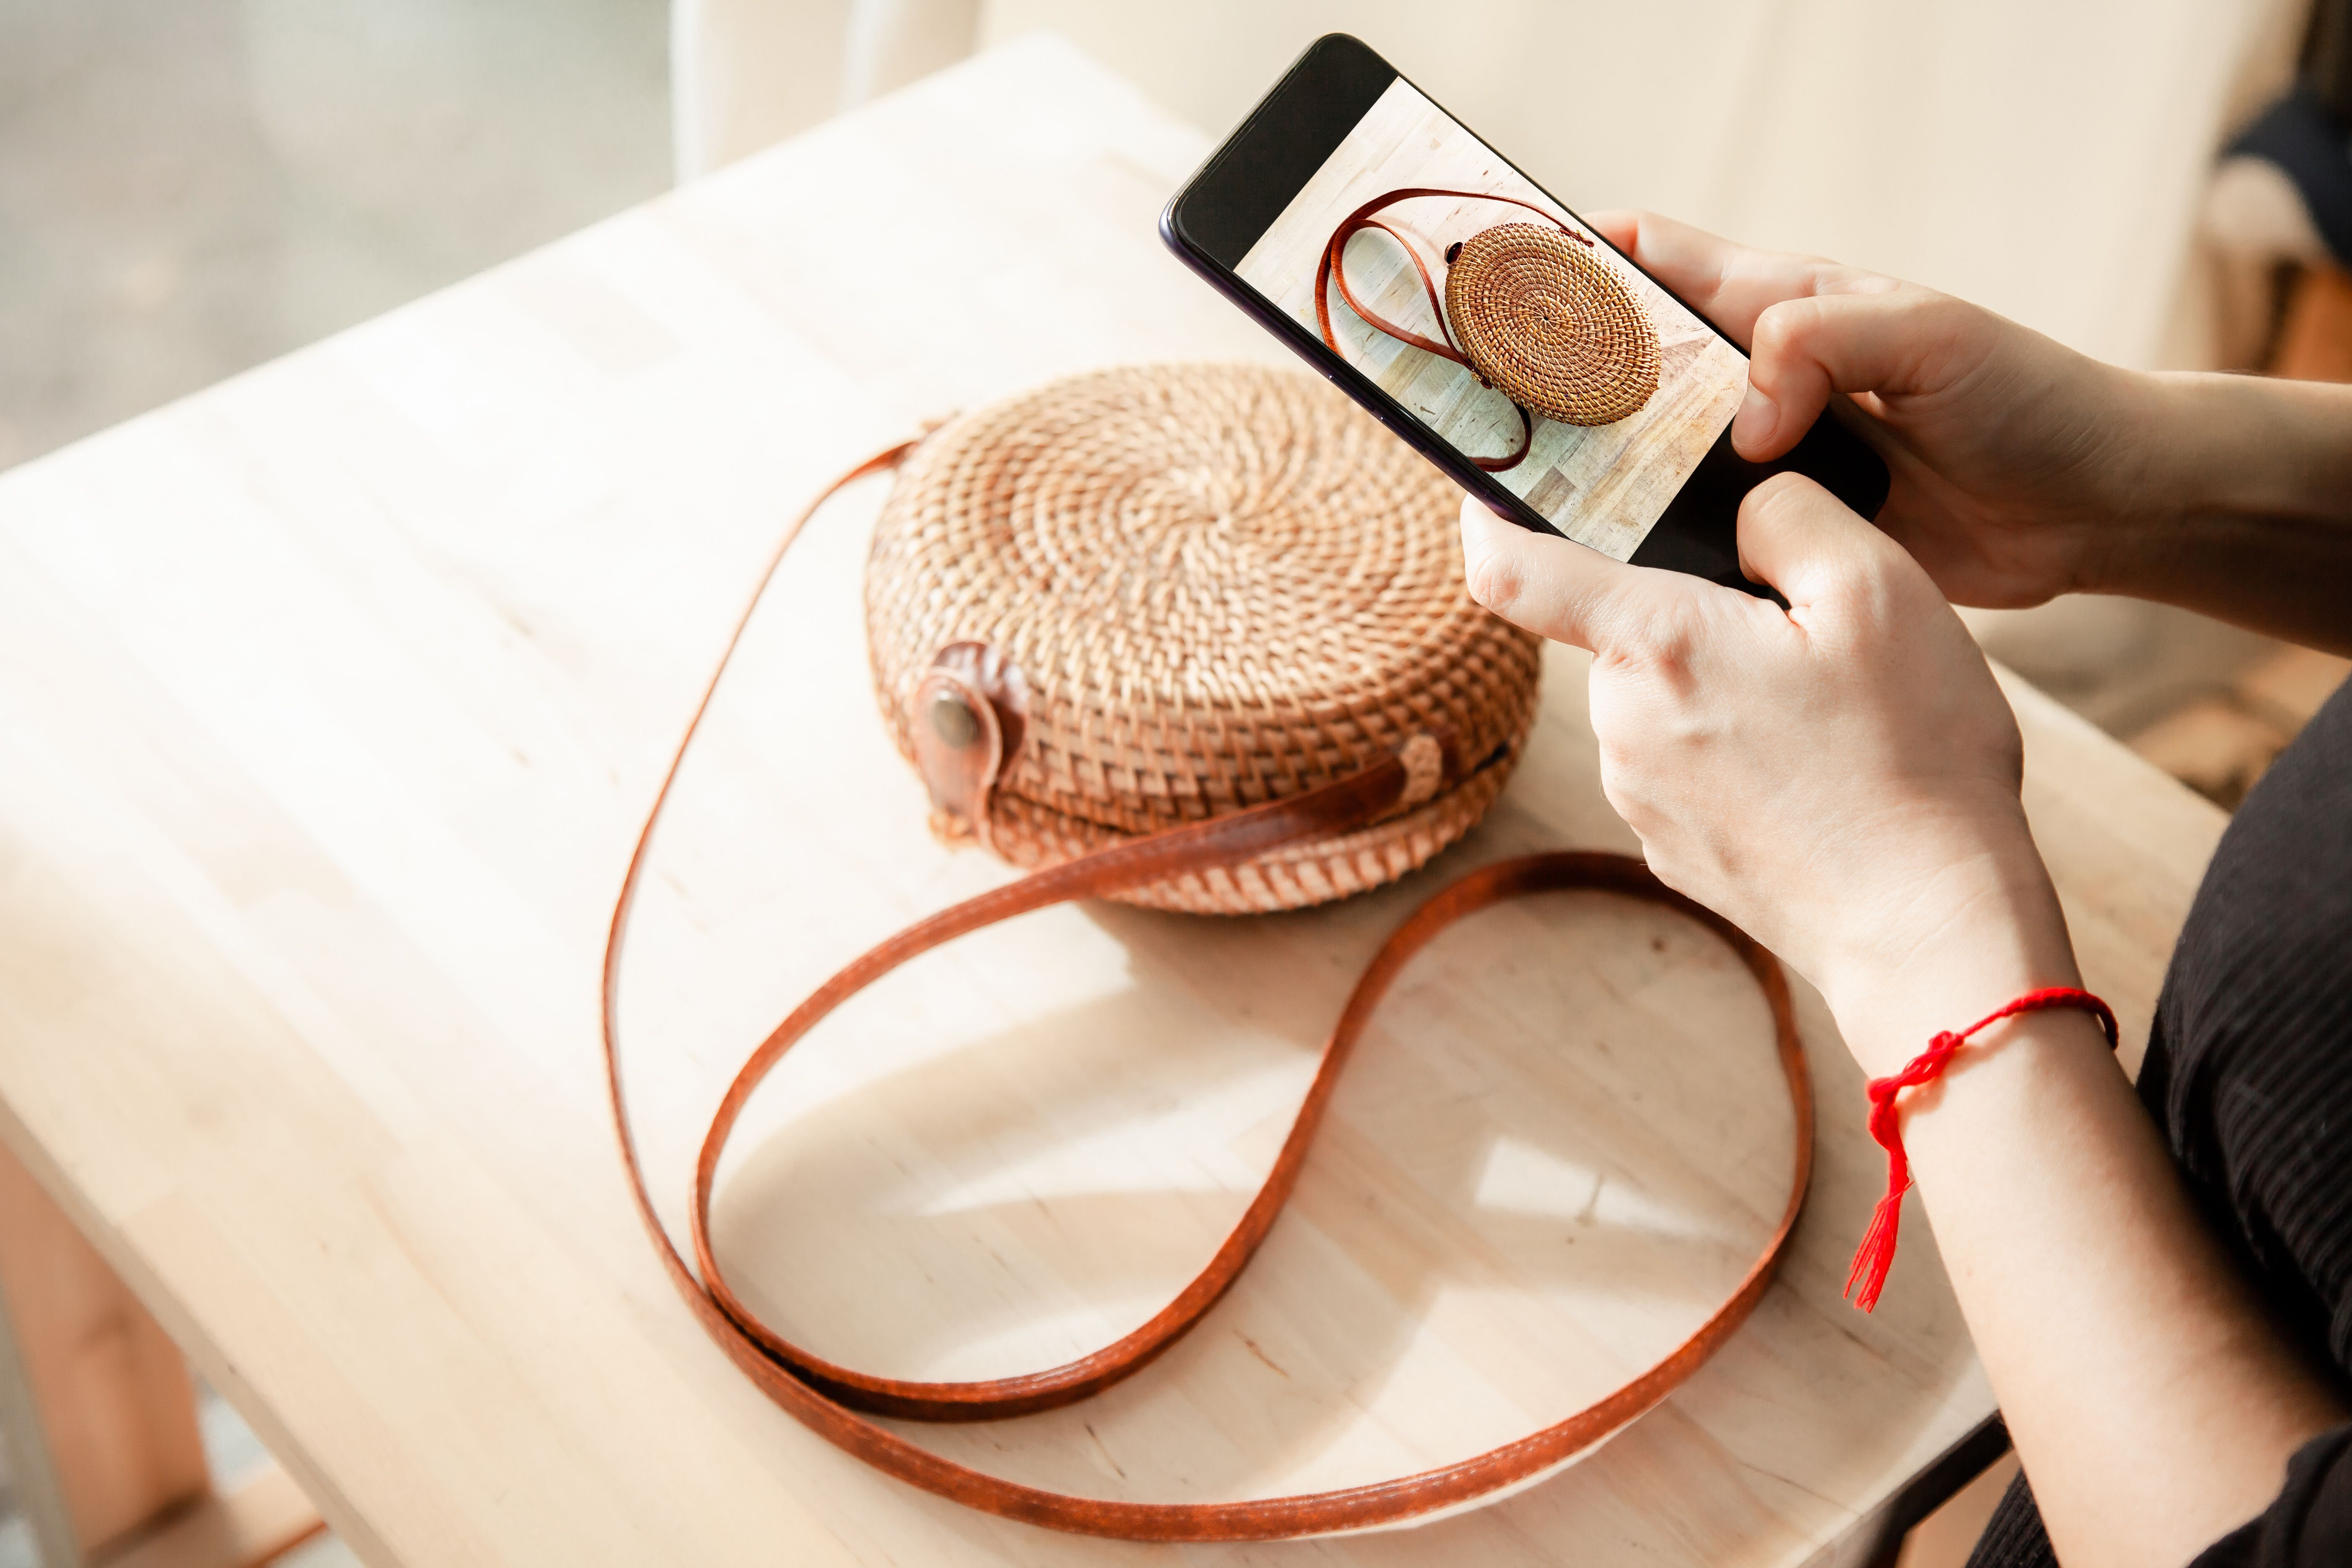
Which camera to use for online sales photography?
Perhaps you already have a decent camera to take pictures on. But do you know how to use it? Is the lens clean? Do you have a tripod? And do you know how to get the pictures out of the camera and into eBay?
If you answered ‘yes’ to all of those questions, this section isn’t for you. For everyone else, have a look at your smartphone.
The latest phones come with multiple cameras and use ‘computational photography’ to stitch together multiple images into one that is (probably) much better than you could take on your own. They also allow you to tweak photos after you take them: you can tilt, resize and vary the colour profile (filters). And the photos are very easy to share – including uploading directly to eBay.
Premium phones made by Apple, Samsung and Google and bought in the past three to four years should take good quality photos. The latest models are better, but see what you have around the office/shop and maybe experiment to see which one produces the best results.
Moving your pictures from the camera to the web
If you’re using a camera with a memory card, you should be able to remove the card and insert it into a reader (sometimes built into the computer or you can buy a USB adaptor for a small amount of money). From here you will be able to upload the photos in the usual way.
If you’re using a smartphone, you can upload the images directly into an online sales listing from the device itself or you will need to send the photos, which can be done in a number of ways.
Apps such as Dropbox and WeTransfer are good ways to send a lot of photos and are free (up to a point) and easy to use, but you can also send images via email or text message. Try not to use WhatsApp, as it downgrades the quality of the images when you send them. Some email programs will also do this but should offer you the chance to send them as ‘large’ or ‘full resolution’.
Many smartphone manufacturers also offer cloud storage that will back up all your photographs and make them available via a website for download, but only use this if you have a dedicated phone for photography, as it will automatically upload the owner’s personal pictures as well.
Why photography is important
Getting your listing right is important, but if you want it to be read, you’ll need good quality, eye-catching photography. The picture is the first thing a potential buyer will look at, and you should aim to draw the reader in with a really great main image. Once you’ve caught someone’s eye, they’ll want to explore the more detailed images, measurements and description in the item listing.