How to list clothing for online selling
‘Edit’ has become a buzzword in fashion circles. And when it comes to online charity clothing sales, the importance of editing your choice of items and your listing is crucial.
Clothing is the highest revenue maker for charity shops, it’s relatively easy to package and post (although Collect in Store is also an option) and it has environmental benefits. According to Clothes Aid, 350,000 tonnes of wearable clothing goes into UK landfill each year. That’s £140 million worth that could be recycled, reused and have a positive impact on charities’ fundraising efforts.
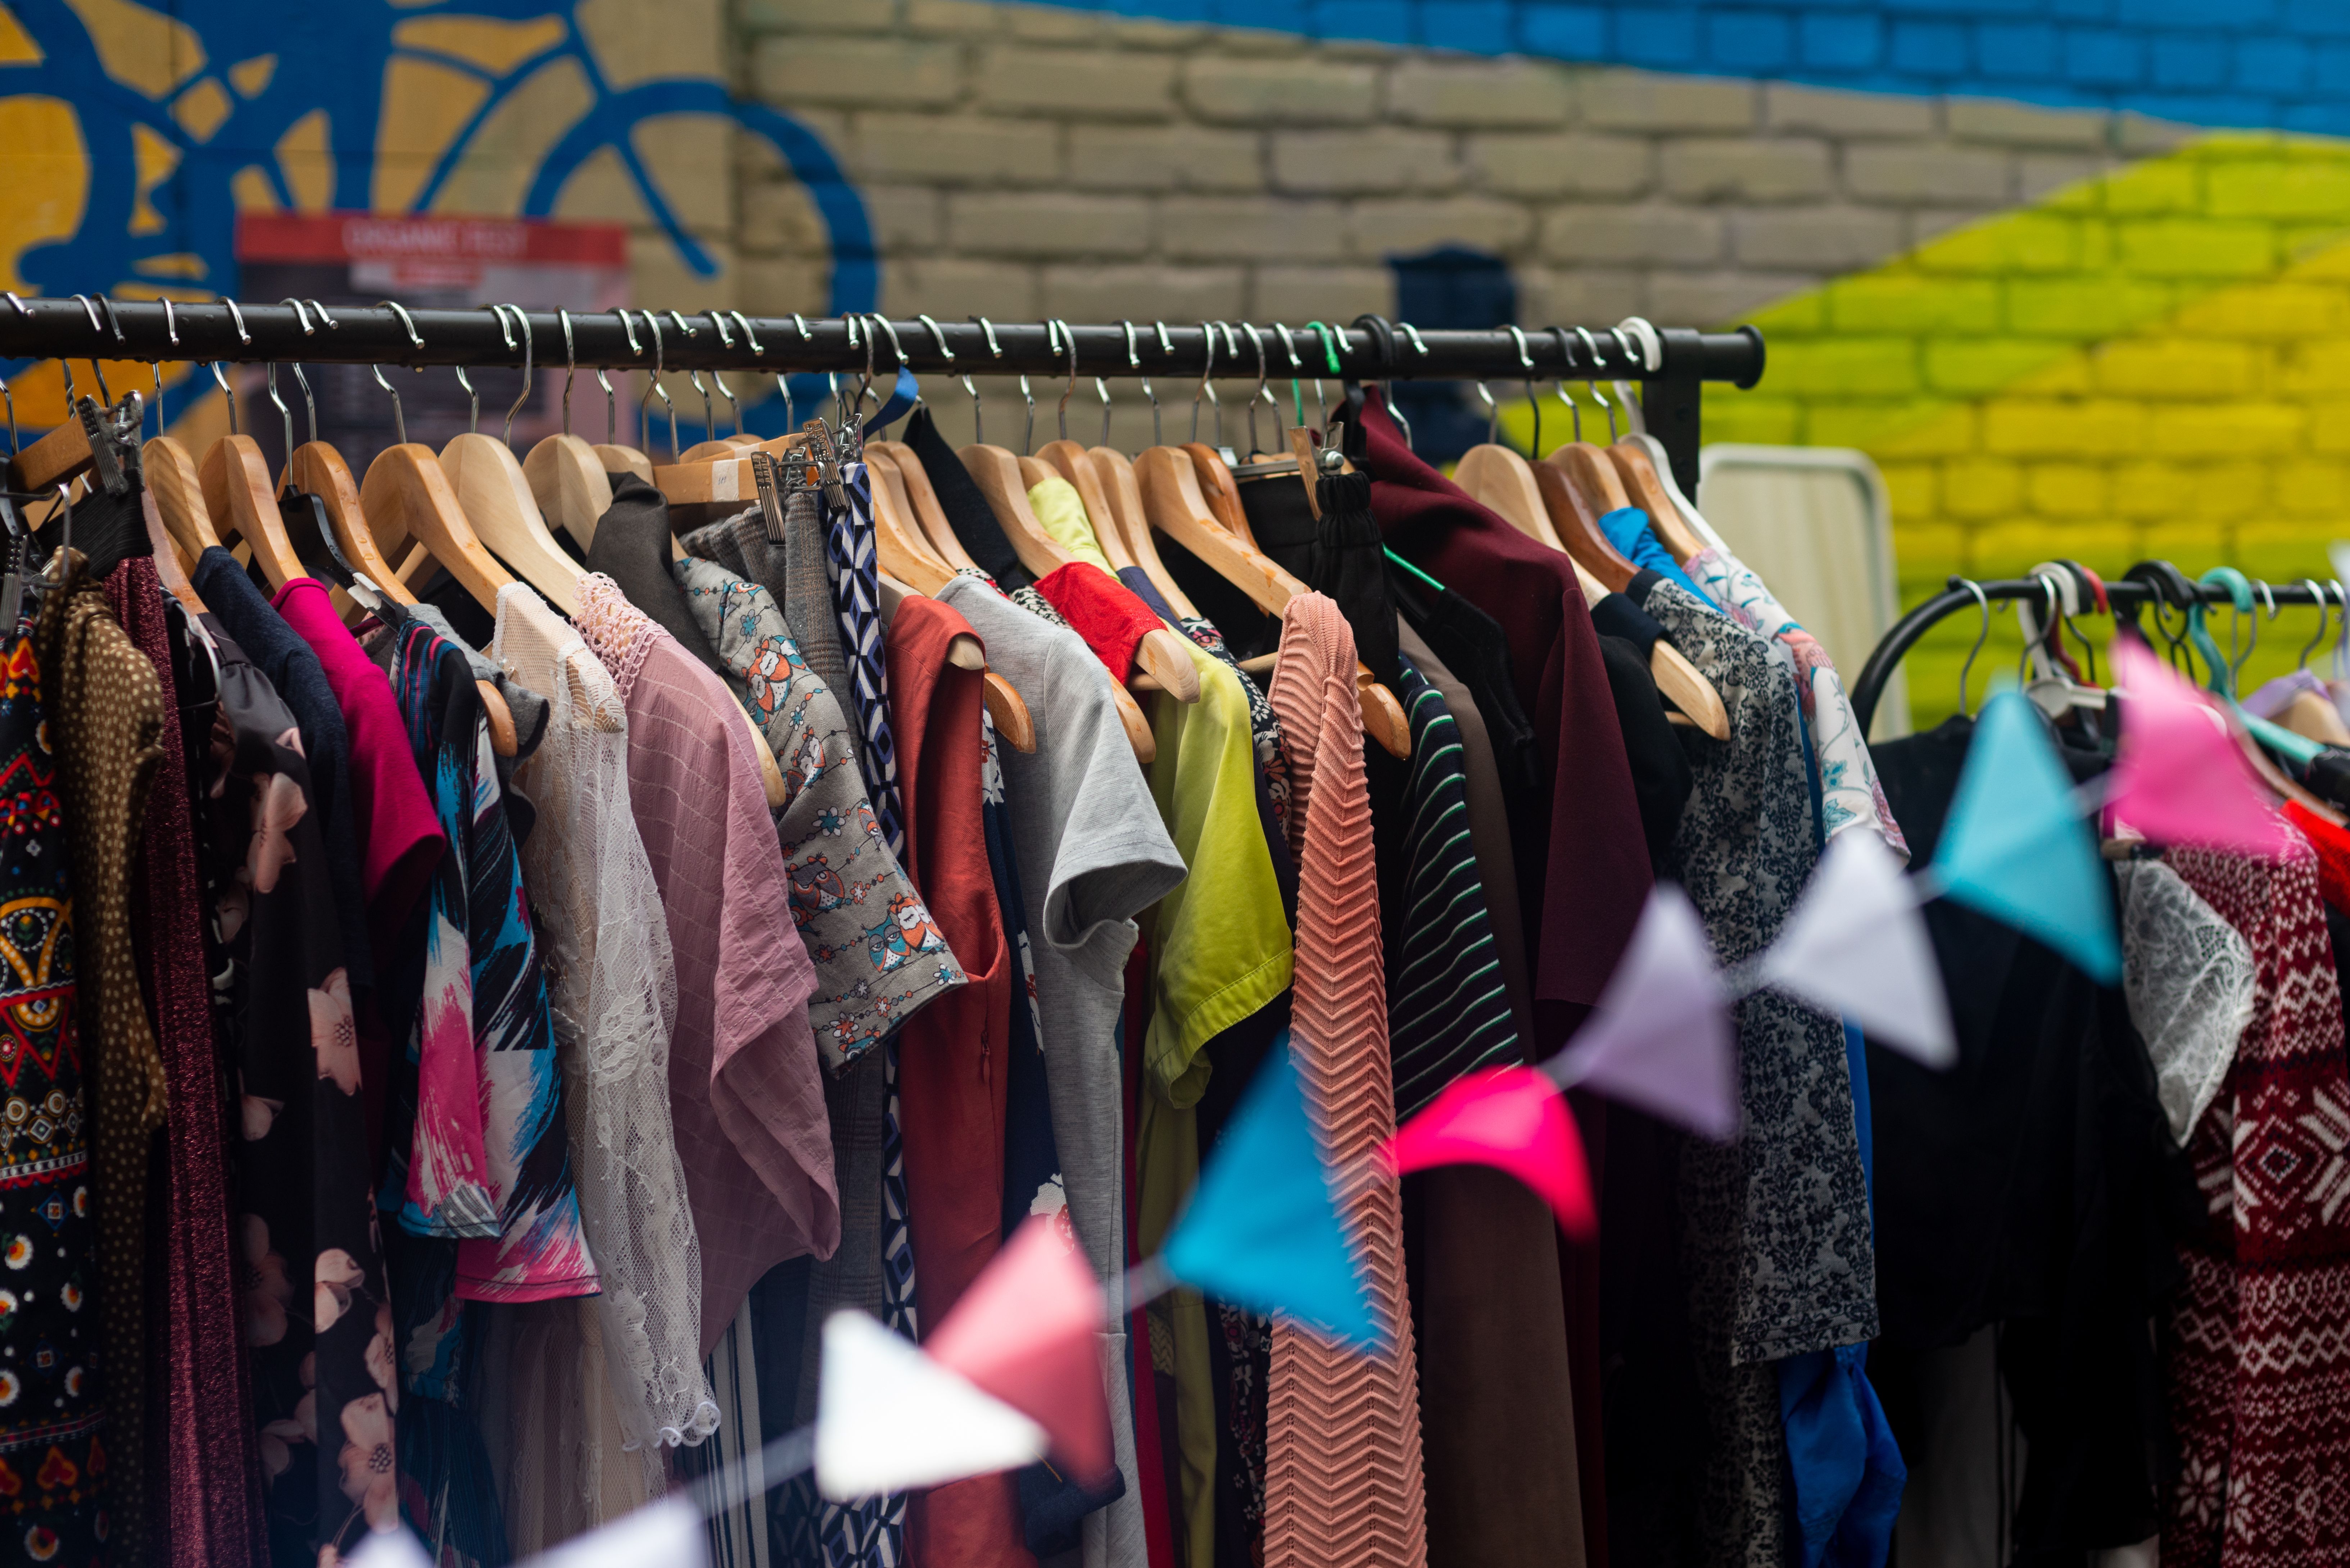
How to pick which clothes to sell online
At Shopiago, our research suggests the pieces that sell best – and for the highest prices – are top-end high street brands such as Hobbs and Phase 8, as well as the more accessible end of the designer market (think Burberry). But using research will be key to assessing what is likely to sell, and command worthwhile prices.
It’s important to commit to the idea of an ‘edit’ of clothes to list for online selling because, done right, the listing of clothing can be quite a lot of work.
How to measure and list clothing for online sales
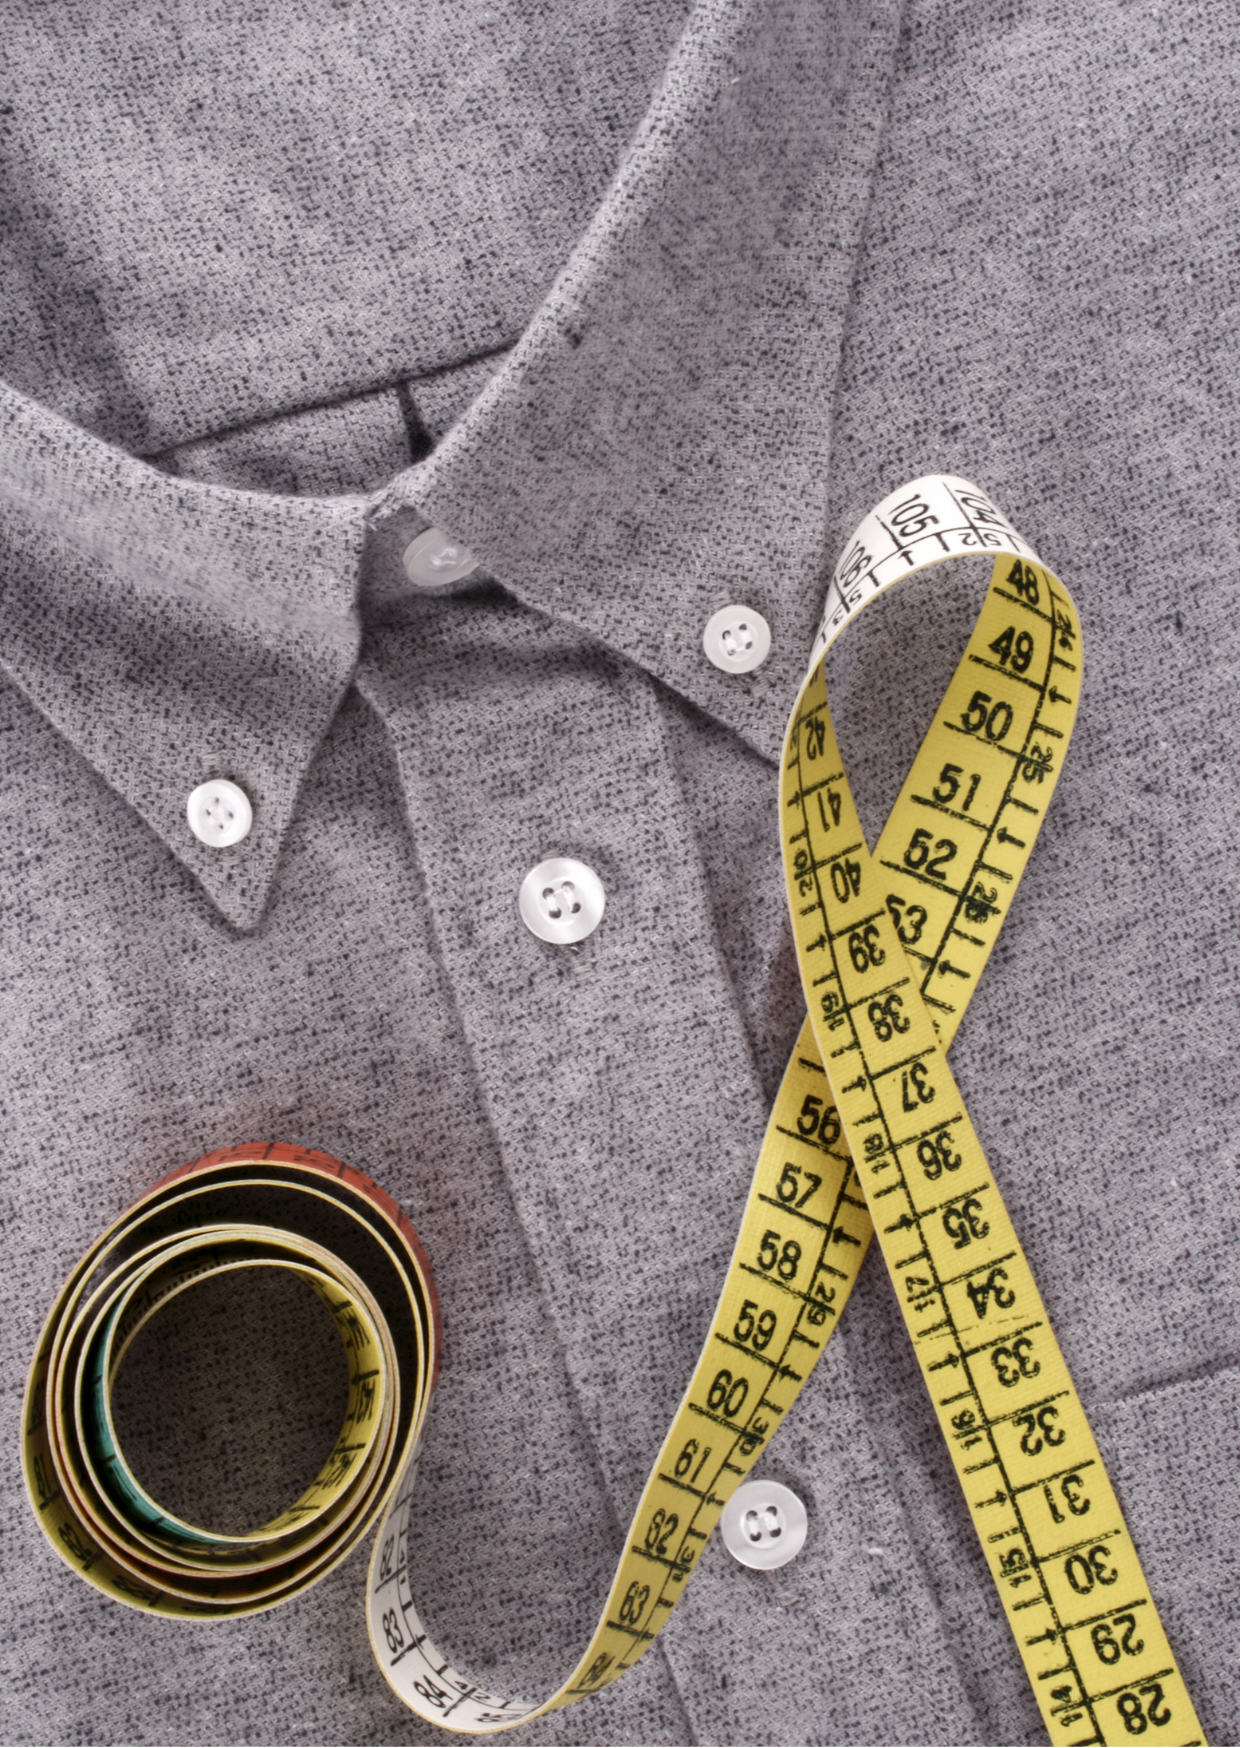
Being able to accurately measure clothing is critical to online selling. Without being able to try clothes on, the buyer is relying on you to provide as much detail as possible to assess whether clothes will fit. You should obviously include sizing details as well, but the measurements you take with your tape measure are likely to be much more useful.
These are the key measurements to take. Take only the measurements that make sense for the item you are selling. Use a proper tape measure. Don’t rely on stitching measurements together using a ruler or using measuring apps on your phone.
Trousers and shorts
Waist: take your own measurement for this, regardless of any existing measurement on the label. Lie the item flat, measure across the waist, seam to seam, and double the number.
Inside leg: measure from crotch to leg opening along the inside seam
Outside leg: measure from top of waistband to leg opening along the outside seam
Leg opening: holding the opening flat, measure from inside seam to outside seam
Shirts, jackets, tops and dresses
Shoulder to hem: full length of garment front, from highest to lowest point, laid flat
Armpit to armpit: seam to seam across the front, laid flat
Sleeve: a proper sleeve measurement goes from neck to wrist, but it may be easier to measure the inside seam from the armpit to the wrist or from the shoulder to the wrist. Make it clear how you have made the measurement
Shoulder to shoulder: turn the garment on to its front and measure the full shoulder width across the back
Waist: for dresses take this measurement at the natural waist point, normally clear from the garment’s cut. If it isn’t clear, measure from around seven inches below the armpit
Neck drop: front and back neck drops are measured from the shoulder
How to describe clothes in online sales listings
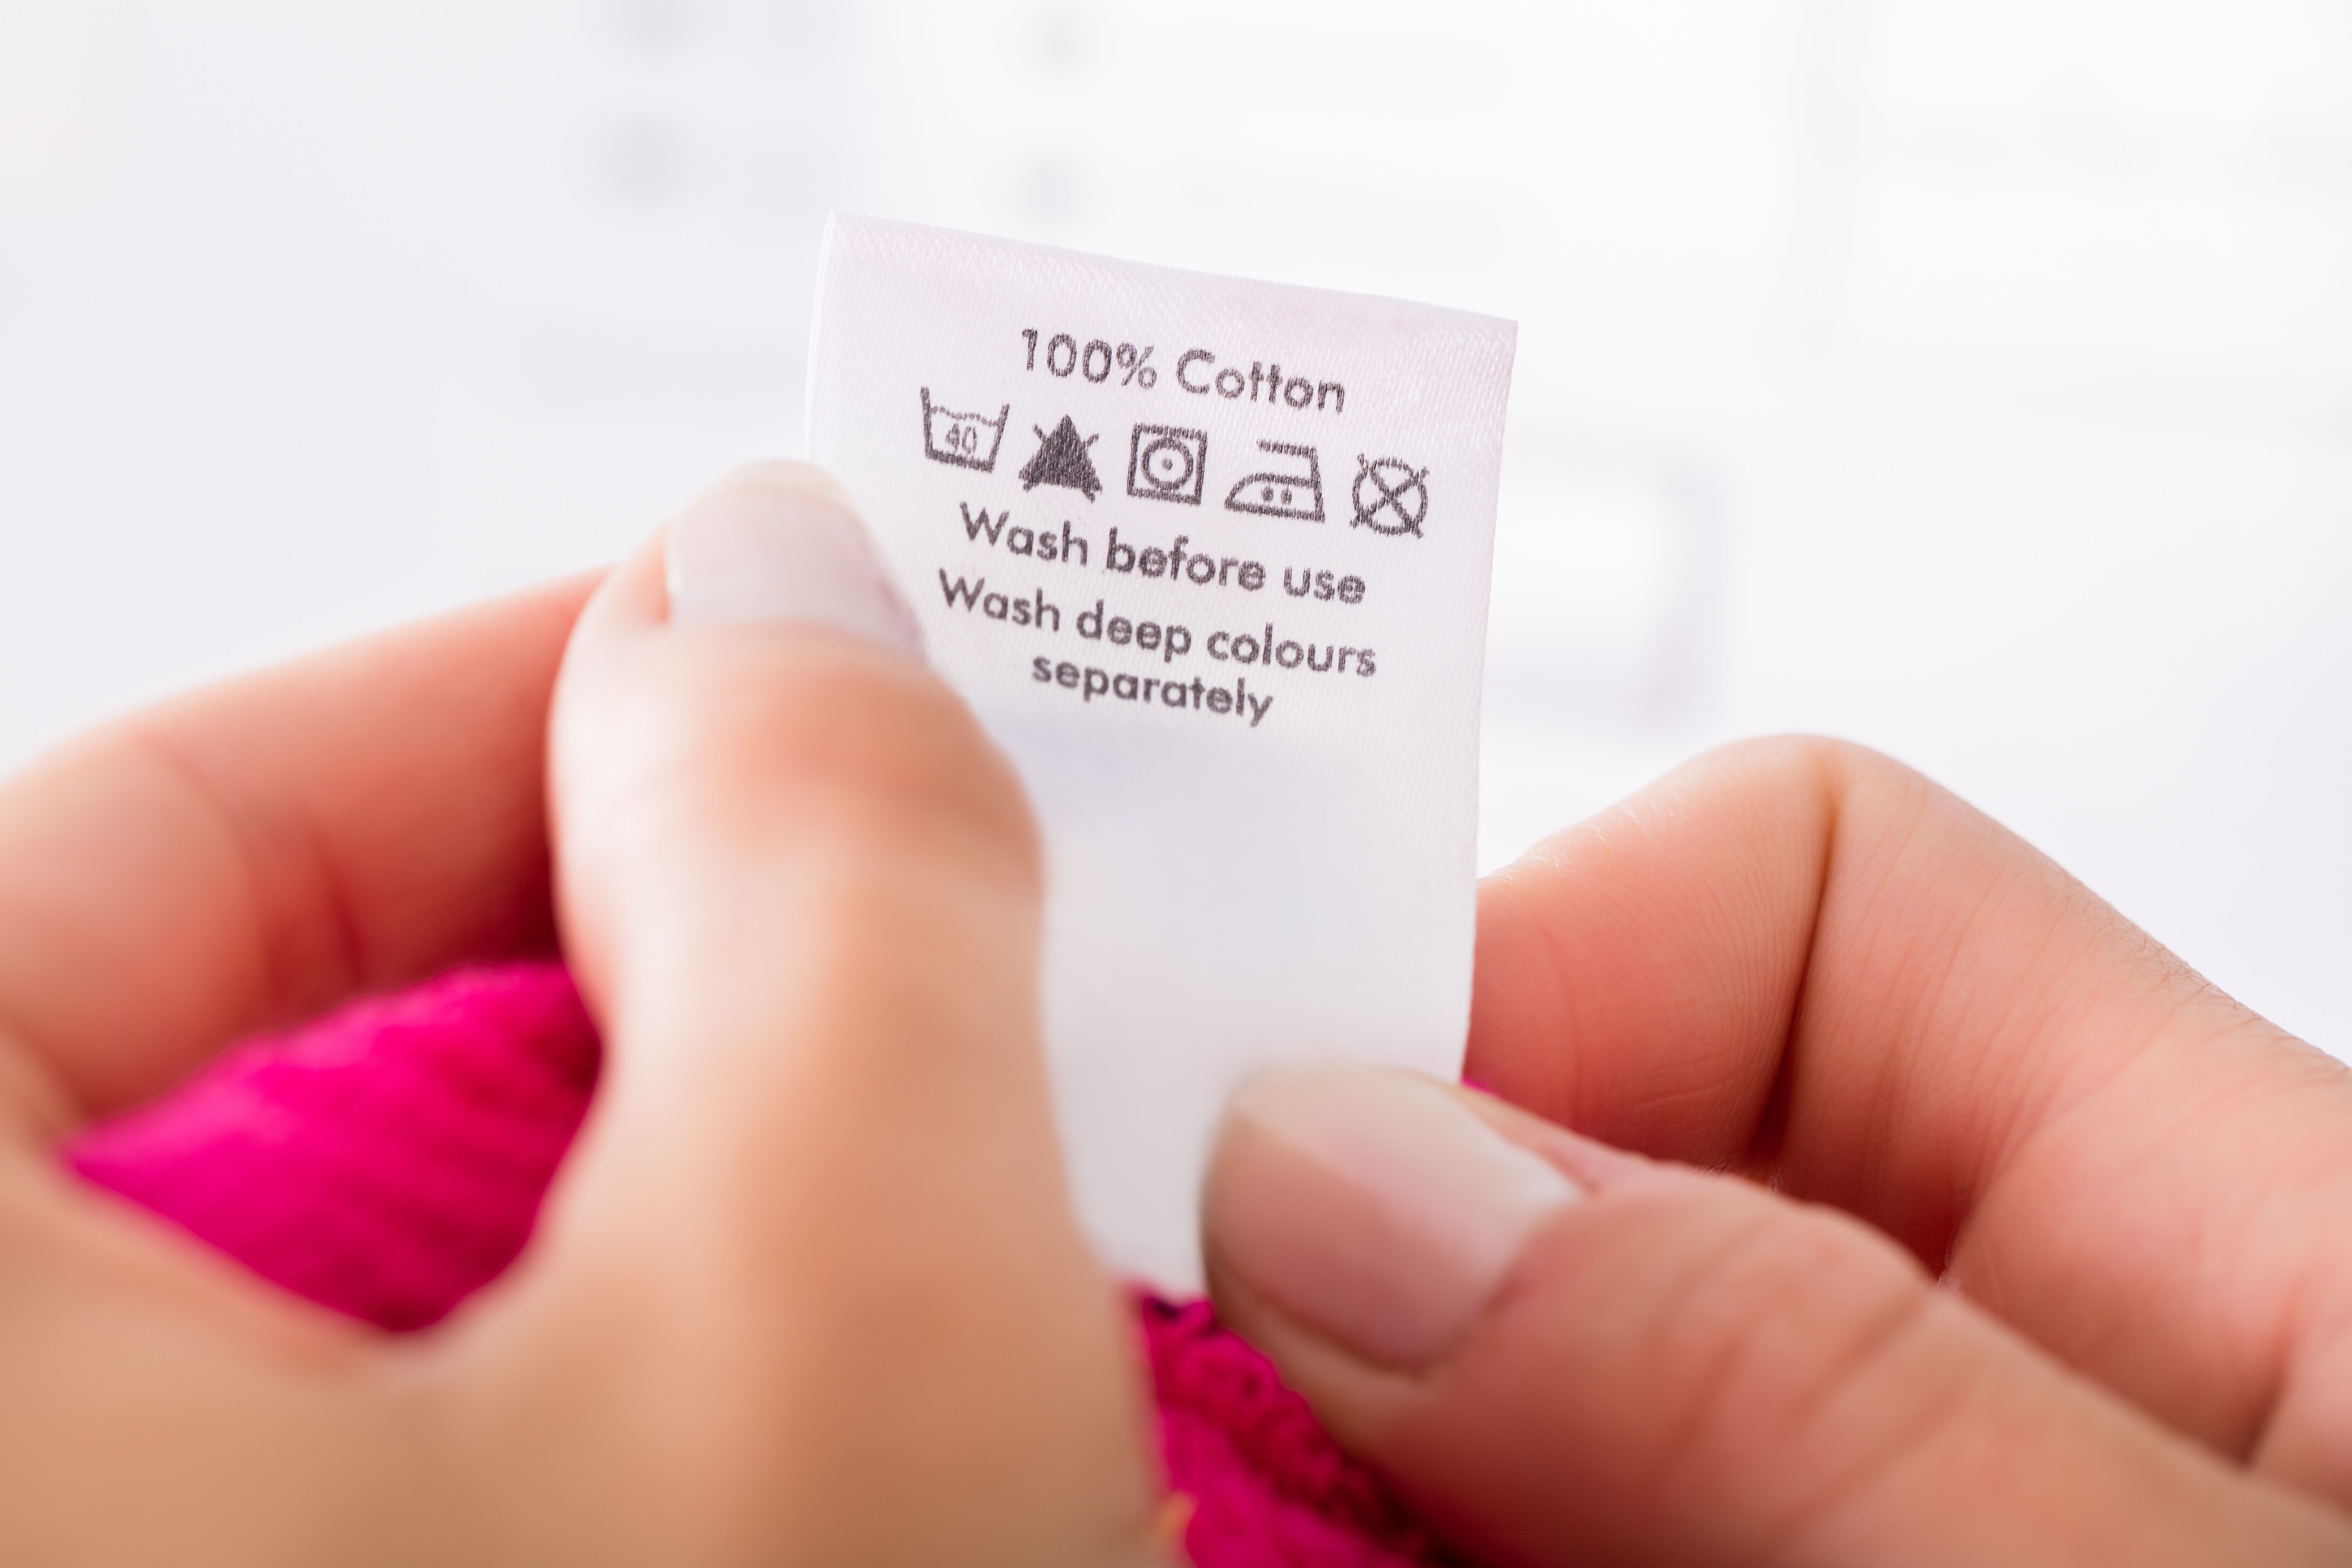
Once you’ve measured and taken pictures (see our 'Photography hints and tips' article), you’ll need to describe the item. Both in the title and description, it can be really useful to suggest the sort of event where such a garment might be worn. A potential buyer is more likely to run a search for ‘office wear’ or ‘evening dresses’ than a branded enquiry.
Try to describe the item’s look and feel as well: light, summery, bright, durable. If you can find it on the label, say what the garment is made of (with percentages). If not, describe the feel of the fabric. It’s important to find and detail any imperfections, stains or tears as well. Describe them in as much detail as possible, supported by pictures.
With everything measured, photographed and described, you will give your item the best chance of a second life in the wardrobe, and save it from an unnecessary trip to landfill.